Tips to take Great Wedding Images
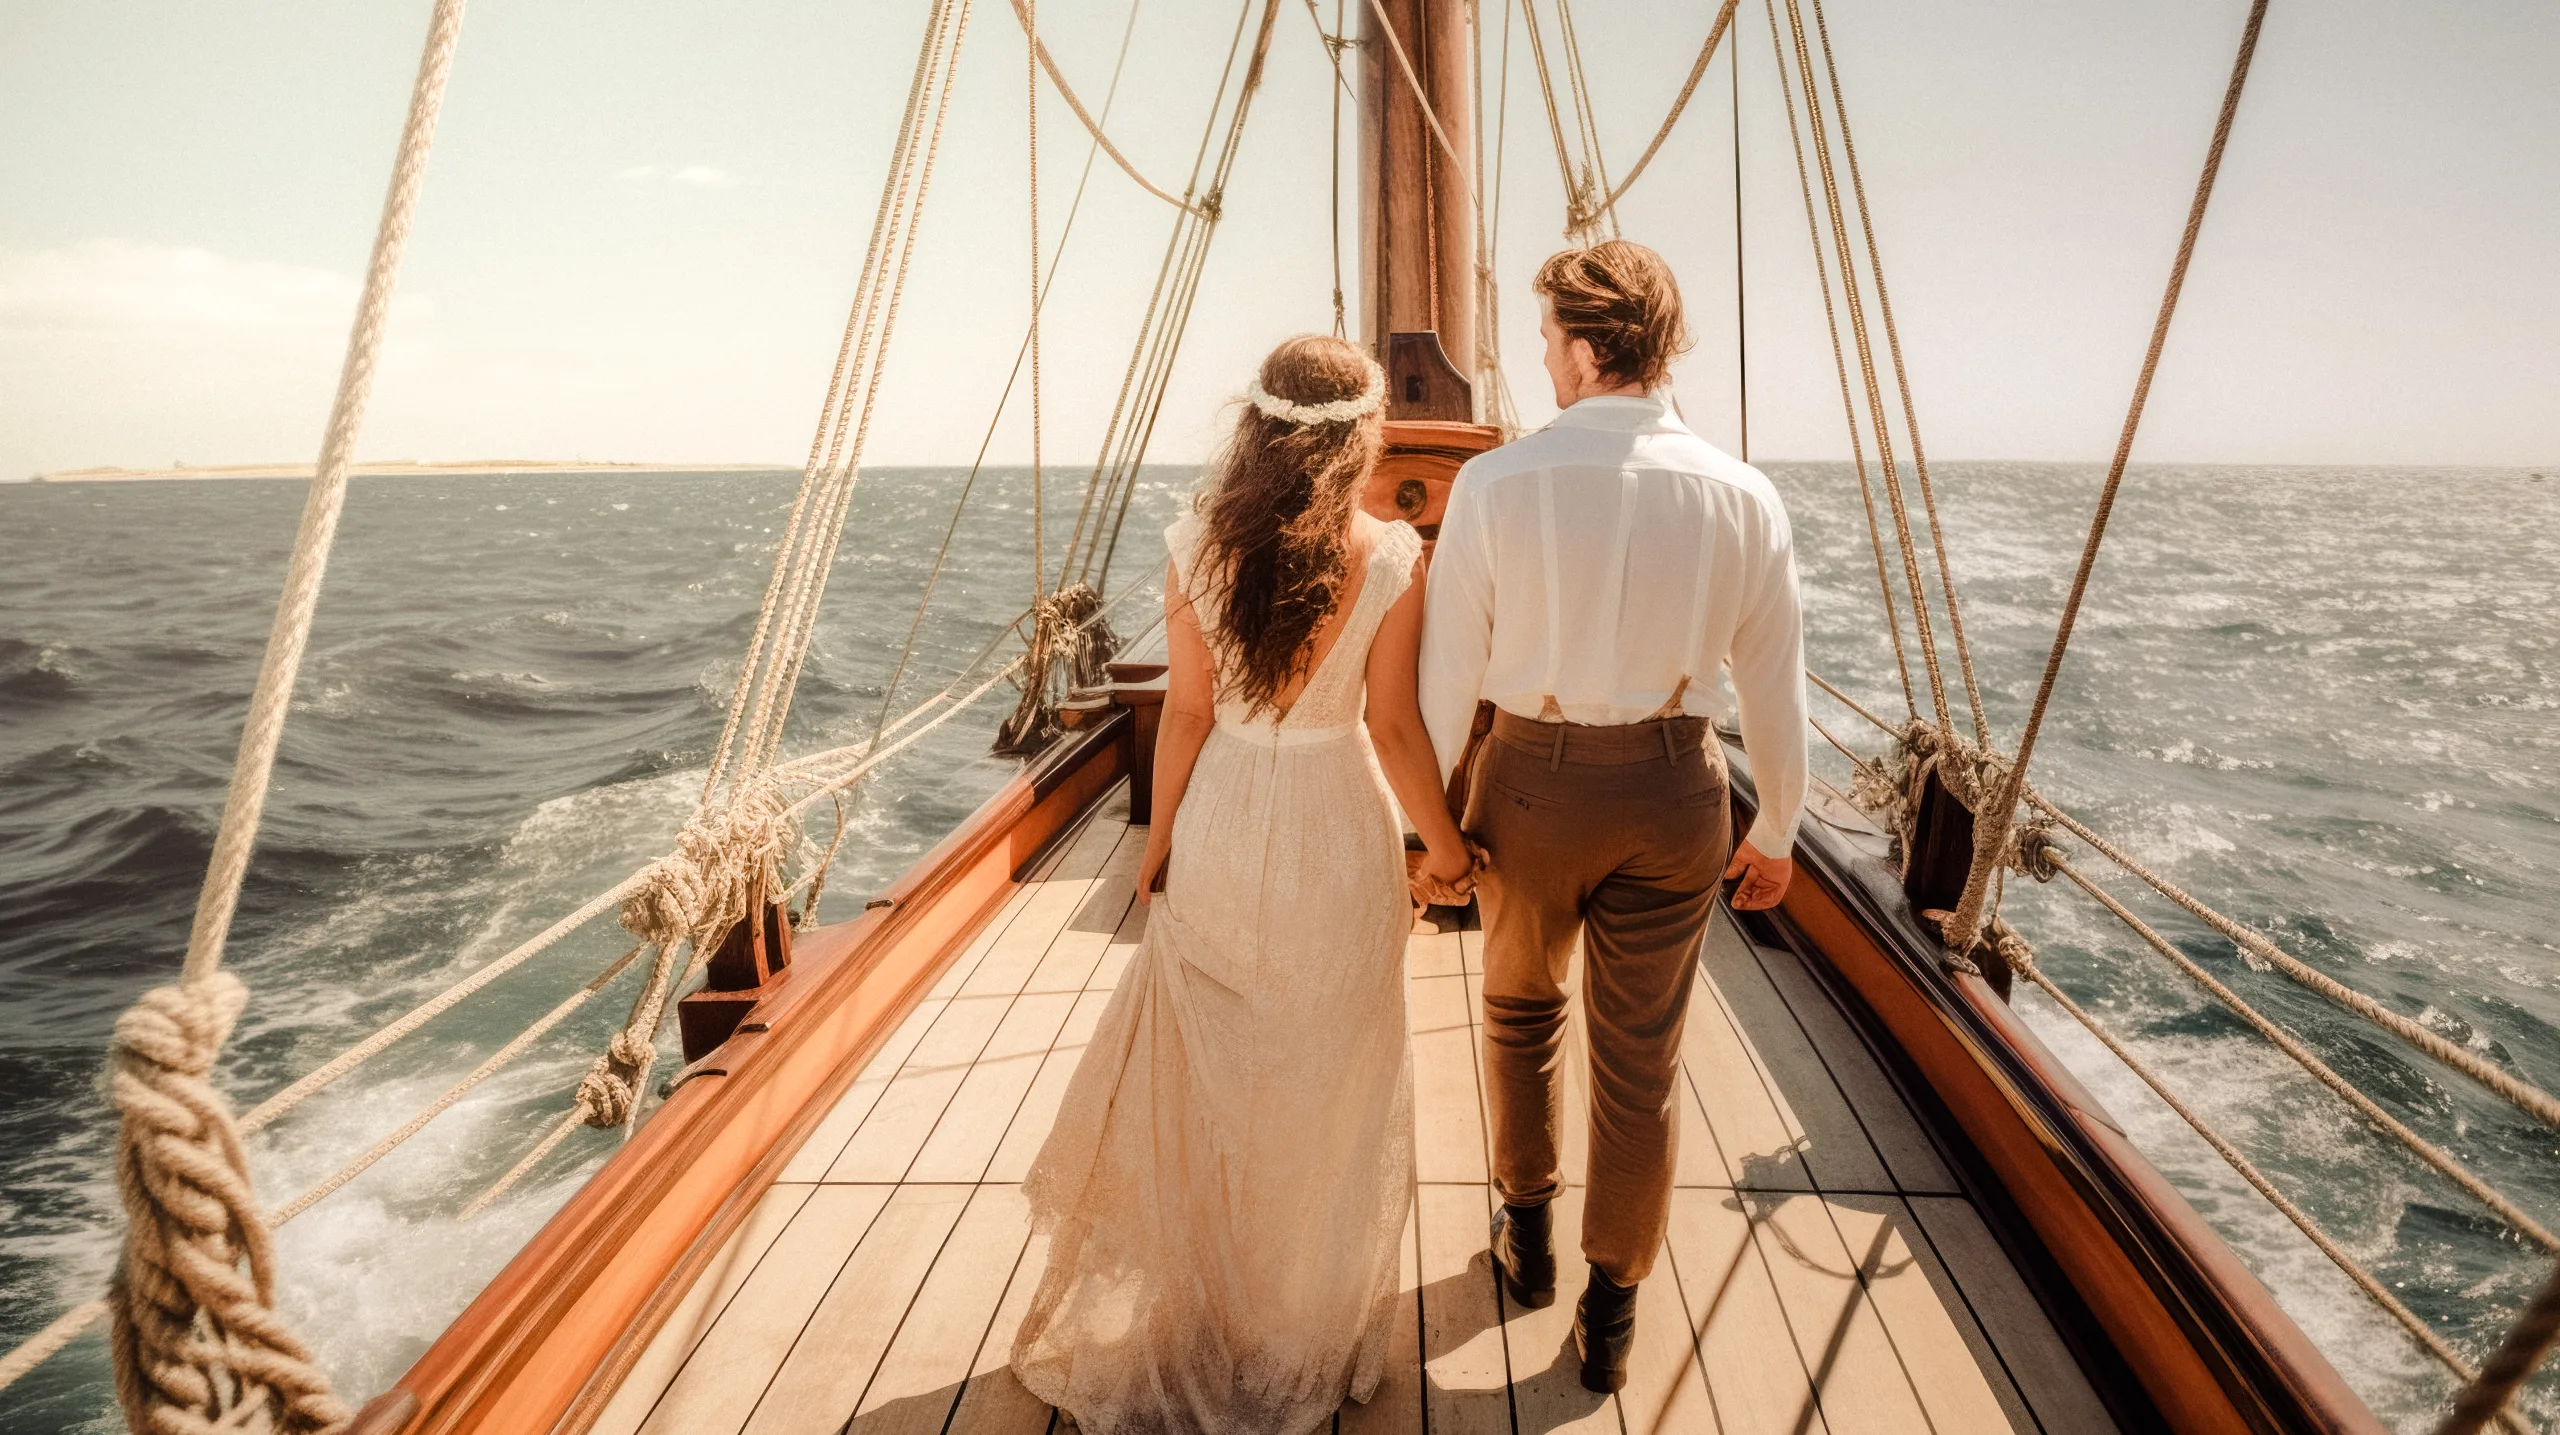
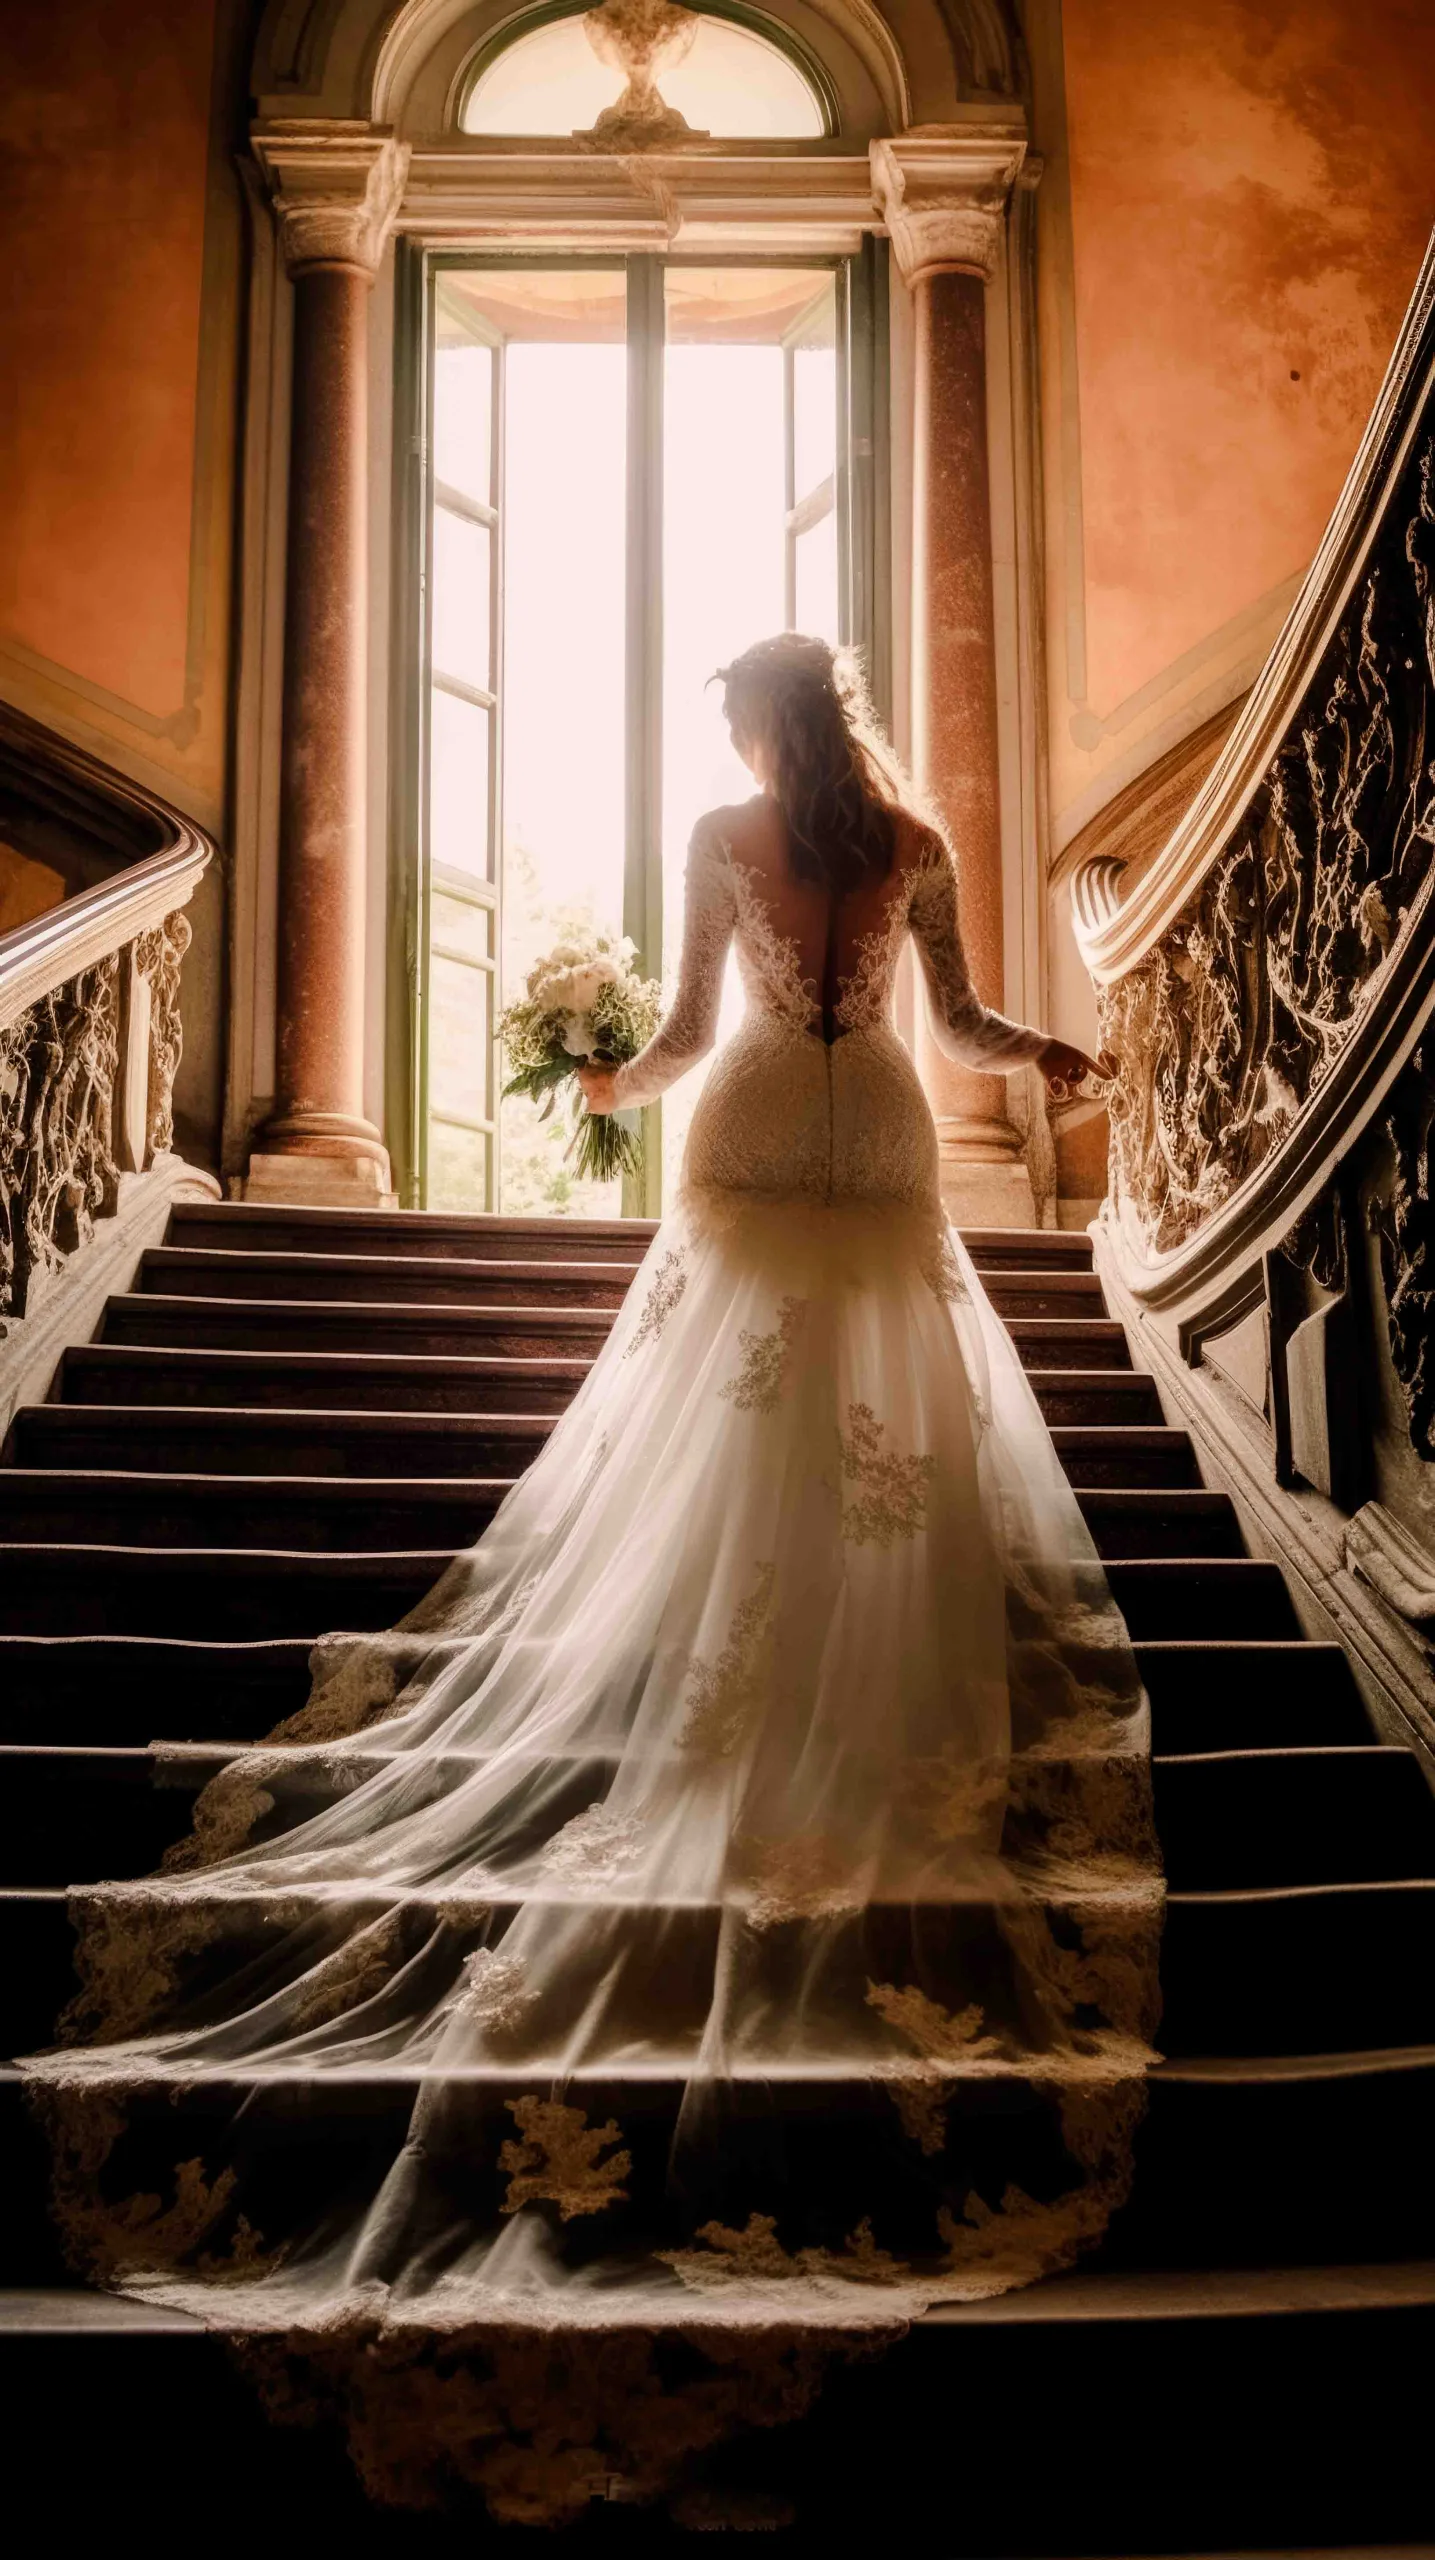
Wedding photography is a specialized genre that requires a unique set of skills and techniques to capture natural photos, beautiful photos, portraits, and great photos. Capturing the essence of the wedding day, from the ceremony to the reception, is crucial for any wedding photographer. The wedding venue and party size can impact the type of photographs that are taken during the shoot. Wild romantic photography is a popular style for capturing intimate moments between the bride and groom.
There are several factors to consider for wedding photographers. Firstly, it’s important to use your light photography skills and choose the right lens for each shot. A wide-angle lens can be useful for capturing group shots, while a telephoto lens is ideal for close-up portraits. Additionally, knowing how to use a camera flash effectively can enhance your photos. So, make sure you have the right cameras and equipment to get the best results.
Secondly, aperture settings should be adjusted based on lighting conditions. For outdoor wedding photography shoots in bright sunlight, a talented photographer may use an aperture setting of f/8 or higher to help avoid overexposure and produce sharp wedding photographs. In contrast, indoor wedding photography shoots with low light may require wider apertures such as f/2.8 or lower for wedding photographers.
Thirdly, in wedding photography, shutter speed plays an important role in capturing motion and avoiding blurry images. For wedding photographers, it is essential to have light photography skills and use cameras with faster shutter speeds like 1/200 or higher to capture fast-moving subjects such as dancing at the reception or walking down the aisle.
Fourthly, ISO settings should be adjusted according to lighting conditions as well. Higher ISO values can help cameras capture photographs in low light but may introduce noise or graininess into pictures. This is especially important in wedding photography, where capturing clear and high-quality pictures is crucial.
Lastly, having excellent light photography skills and using high-quality cameras such as those used by an amazing photographer can result in wild romantic photography that is perfect for weddings. Shooting in RAW format allows greater flexibility during the post-processing and editing of wedding photographs.
Choosing the Right ISO for Wedding Photography
ISO is a crucial camera setting that determines the camera’s sensitivity to light. It plays a vital role in wedding photography, where lighting conditions can vary significantly throughout the day. Choosing the right ISO can make or break your wedding photographs, so it’s essential for photographers to understand how it works and when to use it. Cameras with adjustable ISO settings allow photographers to shoot in different lighting conditions, making it easier to capture stunning photos.
When you increase the ISO setting, you allow more light into the camera sensor, making it more sensitive to light. However, higher ISO settings can introduce noise or grain in your photographs, which can reduce their quality. Therefore, it’s best for wedding photographers and those shooting wild romantic photography to use a low ISO setting when capturing outdoor shots in bright lighting conditions.
For instance, if you’re on a photo shoot taking outdoor shots during a sunny day with plenty of natural light available, set your camera’s ISO at its lowest possible value (usually around 100-200). This will help ensure that your wedding photography images are sharp and clear without any unwanted noise. Wedding photographers can use this technique to capture wild romantic photography.
On the other hand, as soon as a wedding photographer moves indoors or encounters low-light situations such as during evening receptions or dimly lit churches or venues, they’ll need to increase their ISO setting accordingly. They’ll want to maintain a fast enough shutter speed to avoid blurry images while still capturing enough light for well-exposed photographs. This is especially important for shooting wild romantic photography at weddings.
One way for a photographer specializing in wedding photography to determine what ISO settings work best for different lighting scenarios is by conducting test shots before starting the actual shoot. Take a few sample pictures using different ISO settings and examine them on your camera’s LCD screen or computer monitor. This will help you find out what level of noise/grain is acceptable for each situation and adjust accordingly, resulting in amazing photos.
Aperture Settings for Creating Depth and Bokeh
One of the most important settings for a photographer to consider when shooting wedding photography and taking pictures is the aperture. Aperture controls the depth of field, or the range of distance that appears sharp in an image. A wide aperture creates a shallow depth of field, which can be used to blur the background and draw attention to your subject.
To control the aperture on your camera during a photo shoot, as a photographer, you can use the aperture priority mode. This allows you to set the desired aperture while letting the camera choose other settings like shutter speed and ISO for your photos. When choosing your aperture setting in Apr, keep in mind that lower f-number results in more bokeh.
In addition to controlling depth of field, a photographer should also consider lighting conditions when choosing their aperture setting for a photo shoot. In bright sunlight, the photographer may need to use a higher f-number to avoid overexposure in their photos. On the other hand, in low light situations, the photographer may want to use a wider aperture to let more light into the camera and capture better apr.
Shutter Speed for Capturing Wedding Moments
Capturing the perfect wedding moments requires careful consideration of camera settings, especially for a photographer during a photo shoot. One of the most important settings is shutter speed, which can freeze motion or create beautiful motion blur for wild romantic photography, allowing you to capture all the emotions and actions of a wedding day in stunning photos.
Shutter speed refers to the amount of time your camera’s shutter remains open when a photographer is taking photos. A faster shutter speed will freeze motion, while a slower one will create motion blur. For weddings, it’s important for photographers to use both types of shutter speeds to capture different moments during the shoot. Additionally, using a flash can enhance the quality of the photos.
When shooting a wedding day, a photographer should use a faster shutter speed (around 1/250th or higher) to freeze the action and avoid any blurriness when capturing fast-paced moments like the first kiss or bouquet toss. This will ensure that every detail is crisp and clear in your wild romantic photography.
As a photographer, it’s important to know when to use slower shutter speeds (around 1/60th or lower) to create beautiful motion blur in shots like dancing or walking down the aisle. This technique can add a sense of movement and energy to your shoot, making them feel more dynamic and alive. At the same time, it’s also crucial to ensure that you have enough time to capture the perfect moment with wild romantic photography.
One way for a photographer to control their camera’s shutter speed during a photo shoot is by using Shutter Priority mode. This mode allows the photographer to set their desired shutter speed, ensuring that they have enough time to capture the perfect photos while letting the camera automatically adjust the aperture for proper exposure. It’s an easy way to get started with manual camera settings without worrying about over- or under-exposure, making it a great tool for any photo shoot.
Of course, every wedding photographer knows that each event requires its own unique approach when it comes to capturing wild romantic photography. It’s important to experiment with different shutter speeds and flash settings during practice shoots before the big day so that you are confident in your ability to capture those once-in-a-lifetime photos.
White Balance Settings for Accurate Colors
White balance is a crucial aspect of wedding photography that determines the accuracy of colors in your images. It refers to the color temperature of light and how it affects the colors in your photos. Different lighting conditions require different white balance settings, which can be set manually or left on auto. As a photographer, it is important to take the time to work on your white balance settings before the shoot to ensure the best results for your work.
While auto white balance may seem like a convenient option for a photographer, it can be unreliable in mixed lighting situations where there are multiple sources of light with different color temperatures. In such cases, taking control of your camera’s white balance settings can make all the difference in achieving accurate and consistent colors throughout your wedding photoshoot. At Wild Romantic Photography, we understand the importance of having control over our work and ensuring that the photos we deliver to our clients are of the highest quality.
To determine the correct white balance setting for a particular scene, a photographer can use a gray card or take a test shot and adjust accordingly. A gray card is a neutral-colored card that helps photographers set an accurate white balance by providing an even reference point for color temperature. By taking photos of the gray card under the same lighting conditions as their subject and using it to set custom white balance, photographers ensure that colors are accurately represented in their work. This is an essential step in any shoot to achieve high-quality photos.
Another option is to take a test shot during your photo shoot and review it on the LCD screen. If the colors of your photos appear too warm or too cool, adjust your camera’s white balance setting until you achieve accurate colors. This is important for any photographer to ensure their work looks professional.
Shooting in RAW format is essential for any photographer, especially those who specialize in wild romantic photography. It allows for more flexibility in adjusting white balance during post-processing and ensures that your photos retain their quality. Unlike JPEG files, RAW files contain all image data captured by your camera, including information about color temperature and other settings. This means that you can adjust white balance without compromising the quality of your work or introducing noise to your images.
Selecting the Right Focus Mode for Weddings
Choosing the right focus mode is crucial for a photographer during a romantic photography session, such as a wedding photo shoot. It’s important to have a focus mode that can keep up with the action and capture stunning photos. Here are some tips on selecting the right focus mode for photos at weddings:
Choose a focus mode that can track moving subjects for your romantic photography. As a photographer, capturing the perfect shot during a photo shoot is crucial to creating stunning photos. Weddings are full of movement, and to ensure you get the best shots, you’ll want to use a focus mode that can track moving subjects. One option is AI Servo (Canon) or AF-C (Nikon), which will continuously adjust focus as your subject moves.
Use single-point AF for precise focusing on the subject’s eyes during a photo shoot: As a photographer, it’s crucial to have precise focusing on your subject’s eyes in portrait photography or group photos. Using single-point AF allows you to select exactly where you want to focus, ensuring sharp and clear photos.
Consider using back-button focus: Back-button focus separates focusing from shutter release, allowing photographers more control over both aspects of their photography shoot. This can be especially helpful in fast-paced environments like weddings, ensuring that photos are captured with precision and ease.
Avoid using manual focus unless you have experience with it as a photographer: While manual focus can be useful in certain photography situations, such as low light or when shooting through obstacles like glass or foliage, it requires a lot of practice and skill. Unless you’re comfortable with manual focusing techniques, stick with autofocus modes to ensure the best quality photos for your work.
As a photographer, your work is to shoot weddings with love and attention to detail: Weddings are all about the details – from the bride’s dress and jewelry to the flowers and decor. Paying close attention to these details will help elevate your photos and make them stand out in your work.
By choosing a focus mode that can keep up with movement, using single-point AF for precise focusing on eyes, considering back-button focus for more control over both aspects of your shot while avoiding using manual-focus unless experienced; a photographer can get the best photos at a wedding shoot. Attention to detail is also crucial in the photographer’s work, so be sure to pay close attention to all the little things that make each wedding unique.
Metering Modes for Optimal Exposure in Weddings
Metering modes play a critical role for a wedding photographer to achieve optimal exposure while shooting. Choosing the right metering mode can make a significant difference in capturing stunning photos that reflect the beauty and emotion of the special day. This work can be fun for the photographer who enjoys capturing every moment.
Metering mode refers to how your camera measures light to determine exposure for photography. As a photographer, it is important to understand the different options available, including evaluative, spot, and center-weighted metering modes to ensure your photos are well-exposed. For wedding photography work, evaluative metering is the most versatile option as it considers the entire scene when calculating exposure.
Evaluative metering is a must-know for every photographer who wants to capture fun and memorable photos. This mode divides the scene into multiple zones and evaluates each one independently to determine overall exposure. It’s perfect for photography during weddings, where you need to handle various lighting scenarios, such as bright skies or dark shadows. Additionally, it works well when you’re photographing people against a complex background, like trees or buildings.
However, there may be situations during a wedding day where evaluative metering isn’t sufficient for a photographer. For example, if the bride and groom are standing against a bright window or other light source, evaluative metering may overexpose them in their wedding photos. In these cases, switching to spot metering can help the photographer achieve accurate exposure for their subjects in their wedding photography.
Spot metering is a useful tool for photographers who want to capture perfect photos. It measures light from a small area in the center of your frame, making it easier to work with tricky lighting conditions. This mode is especially fun when you want to emphasize specific elements in your composition. If you’re a photographer using spot metering during a wedding ceremony, aim for an area with similar lighting conditions to your subject’s face and take a reading before adjusting your settings accordingly.
Lens Selection for Different Wedding Scenarios
Choosing the right lens for a wedding shoot is crucial to capture those special photos. Different lenses are suitable for different scenarios, and as a photographer, you need to have a keen eye to choose the right one that can work best for capturing the fun and love of the event. Let’s take a closer look at how focal length and lens choice can impact your wedding photography work.
One popular choice for photographers capturing special events like weddings is prime lenses. These lenses offer excellent image quality and low-light performance, making them ideal for shooting in dimly lit venues. Prime lenses also tend to have wider apertures than zoom lenses, allowing you to create beautiful bokeh effects that can highlight your subject’s love. The work of a photographer using prime lenses results in stunning photos that capture the essence of the special event.
When choosing a lens for a particular area of the wedding venue, the photographer must consider the romantic team in front of the camera to capture beautiful photos that showcase their love. For instance, when photographing the bride and groom during their first dance, it’s essential to use a lens with a longer focal length that can capture them from further away without getting too close or disrupting their moment. Similarly, when capturing candid shots of guests at reception tables or on the dance floor, a wide-angle lens is best to take in more of the scene and showcase the photographer’s work.
Here are some examples of how a photographer can use different lenses to capture wild romantic photos in various wedding scenarios. These lenses can help the photographer to work their magic and create stunning photos that truly capture the essence of the wedding day.
Getting ready shots: A prime 50mm lens is perfect for the photographer to capture intimate moments during hair and makeup preparations on the wedding day, resulting in stunning photos that embody the wild romantic essence of the occasion.
Photographers at weddings can use a telephoto zoom lens (70-200mm) to capture close-up photos without being intrusive in their work.
First Dance: A prime 85mm or 105mm lens will help the photographer capture this romantic moment beautifully on the wedding day, resulting in stunning photos.
Reception: A wide-angle zoom lens (24-70mm) works well for a wedding photographer capturing group photos or candid moments on the dance floor with their team. For those wild romantic moments, this lens is a must-have.

Using Flash Techniques to Avoid Harsh Shadows
Camera flash can work wonders especially if you want to avoid harsh shadows on your wedding day. With the use of a Speedlight, photographers can improve their flash techniques and reduce motion blur in their photos. However, using Flash can be tricky and requires skill and practice to achieve the desired results for the team working on the big day.
One useful technique for a photographer when working with flash is to pay attention to the flash highlights warning on your camera. This will help ensure that your photos are properly exposed without overexposing any parts of the image. With enough practice, using flash can be done with ease and significantly improve the overall quality of your wild romantic wedding photos. As a team, it’s important for photographers to master this technique to capture the best shots possible.
Thanks to modern technology, using Flash has become more accessible for photographers of all talent levels. Many cameras now come equipped with built-in flashes or hot shoe mounts for attaching external flashes like speed-lights. This makes it easier than ever for photographers to experiment with different lighting techniques and capture stunning photos at weddings. Whether you’re working solo or as part of a team, incorporating flash into your work can add a wild romantic element to your images.
As a wedding photographer, using flash can not only reduce harsh shadows but also add depth and dimension to your work. By illuminating certain areas of the image while leaving others in shadow, you can draw attention to specific elements of the scene and create a more dynamic and romantic composition. Elle, try experimenting with flash to enhance your wedding photos.
Of course, as with any aspect of photography, there is no one-size-fits-all solution for a photographer’s work. The time of day can greatly impact the outcome of photos and personal preferences regarding style and aesthetics should always be considered. This is especially important for wedding photographers who must capture the perfect moments on their clients’ big day.
RAW vs JPEG: Pros and Cons for Weddings
Choosing between RAW and JPEG file formats is a crucial decision that wedding photographers have to make for their work. While both formats have their own advantages and drawbacks, it’s important to understand the differences between them before making a final decision on which one to use for capturing photos on the big day.
RAW files provide greater flexibility in post-processing for photos. Since they contain all of the data captured by the camera’s sensor, RAW files allow photographers to work on adjustments to exposure, white balance, color, and sharpness without sacrificing image quality. This means that even if you didn’t get the perfect shot on your wedding day, you can still salvage it during post-processing.
As a photographer, managing photos can be a lot of work for you and your team. However, using JPEG files can make it easier. These compressed versions of RAW files take up less storage space on your memory card and hard drive, making it easier to manage your work. Additionally, they require less processing power from your computer when editing or exporting images, which can save you and your team time and effort.
However, one of the biggest drawbacks for a wedding photographer and their team when shooting photos in RAW is that it requires more storage space than JPEG. This means that they’ll need more memory cards or external hard drives to store their wedding images. Working with RAW files can be slower since they require more processing power from the computer.
JPEG files are perfect for photographers as they can be quickly shared and printed without additional editing. Since these files are already processed by the camera’s software before being saved onto your memory card, they are ready for immediate use after being transferred onto a computer or mobile device. This makes them ideal for photographers who need to quickly share their photos with their team or clients without having to spend extra time editing their work.
Shooting Outdoor Weddings: Dealing with Bright Sunlight and Harsh Shadows
Shooting outdoor weddings is a beautiful experience for photographers, but it can also be challenging due to the bright sunlight and harsh shadows that come with it. As a photographer, you need to know how to work with your team to deal with these challenges and capture stunning photos throughout the day. Michael, your expertise will be valuable in this kind of shoot.
One of the best ways for a photographer to handle harsh shadows in their photos is by having a natural light buddy on their team. This person will help you keep track of the changing light throughout the day, so you can adjust your camera settings accordingly. It’s important for a photographer to have someone who understands natural light and can provide valuable insights on when and where to shoot for their work.
Another option to capture stunning photos is by having a two photographers, Michael and Tracy. They will ensure that every moment is captured beautifully, especially for wild outdoor weddings in the ~UK. A second shooter can also capture different angles and shots throughout the day, allowing you to cover more ground and get the best possible photos.
When working as a photographer, taking photos on a bright day requires careful consideration of your camera settings. It’s essential to ensure that your work is of high quality. Here are some tips to help you get the best shots in bright sunlight.
As a wedding photographer, it’s important to use a low ISO setting in your work. This will reduce noise in your photos and give them a cleaner look on the big day.
Photographers should adjust their shutter speed to capture sharp photos that freeze motion, especially when working on a busy day.
Use aperture priority mode: This mode allows you to set your desired aperture while letting the camera choose the appropriate shutter speed for proper exposure. It’s great for taking photos during a wedding day and can work wonders for your photography work.
Consider using a polarizing filter for your photos: This filter reduces glare from reflective surfaces such as water or glass, making it perfect for wedding work or capturing the beauty of a sunny day.
When shooting photos in harsh sunlight, it’s important to be creative and work with the conditions. Look for shaded areas or use objects such as trees or buildings to block direct sunlight. You can also use shadows creatively by positioning your subjects in front of them or incorporating them into your composition. This is especially important when doing wedding photography during the day, as you want to ensure that your work looks professional and well-lit.
Low Light Photography Settings for Indoor Weddings
Low light photography can be a challenging task, especially making it difficult for photographers to capture the perfect shots. However, with the right camera settings and equipment, you can produce stunning photos even in low light situations. This work requires patience and expertise, especially when shooting a wedding day.
One of the most crucial factors to consider when shooting in low light is the ISO setting, especially when you work as a wedding photographer like Michael. A higher ISO allows your camera sensor to be more sensitive to available light, resulting in brighter images even on a cloudy day. However, keep in mind that increasing the ISO too much can lead to grainy or noisy photos. Therefore, finding the right balance between brightness and image quality is essential for your work as a professional photographer.
Another setting that plays a significant role in low light photography is aperture. Using a wide aperture (low f-number) lets more light enter your lens and reach the sensor, making it work better in low light conditions. This technique also creates a shallow depth of field that can help separate your subject from its background, adding more depth and dimensionality to your photos. It is particularly useful during the day when lighting is not optimal, or during wedding shoots where lighting can be challenging. Michael, a popular wedding Photographer from Somerset, also recommends this technique for achieving stunning low light portraits.
Shutter speed is another critical aspect of low light photography settings for indoor weddings. A slower shutter speed allows you to capture more light but increases the risk of motion blur if you or your subjects move during exposure. To avoid this issue, try using a tripod or stabilizer and ask your subjects to stay still while taking photos. It’s important to work closely with the couple and their wedding planner to ensure everything runs smoothly on the big day. Elle magazine recommends practicing with different shutter speeds before the wedding to get comfortable with the technique.
While adjusting these settings can improve your chances of getting good results in low light situations, sometimes they may not be enough on their own for photos taken during the day or at a wedding. In such cases, using external lighting sources like flashes or continuous lights can provide additional illumination and enhance image quality significantly, making your work stand out.
Overcoming Challenging Lighting Conditions in Weddings with Filters and Reflectors
Filters and reflectors are two essential tools that can help you work and overcome challenging lighting conditions in weddings. The right use of lighting services can create elle and magic beyond everything you’ve done before. With the help of available light, filters, and reflectors, you can enhance your photography skills to capture stunning wedding photos every day.
Using available light is an excellent way to capture stunning photos, especially during the day. Natural light can be unpredictable, but with some practice, it’s possible to work wonders for your wedding photography skills. In some cases, using natural light alone may not be enough to get the desired effect for your wedding photos. That’s where filters come in handy. They can help control the amount of light that enters your camera lens and provide a more balanced exposure for your wedding day photos.
Reflectors are another great tool that can help you manipulate light during a wedding shoot, resulting in stunning photos. They work by bouncing natural or artificial light back onto your subject from a different angle, creating a soft and even illumination that enhances your images’ quality. Elle magazine recommends using reflectors to capture the perfect lighting on the big day.
Elle is one photographer who knows how to work her lighting novices to create stunning wedding photos that will capture your special day. Her bubbly personality and energy will make you feel at ease while she works her magic behind the camera, ensuring that every moment of your big day is beautifully preserved.
Thanks to Elle’s expertise in using filters and reflectors during weddings, she was able to capture breathtaking photos despite challenging lighting conditions. For instance, during one outdoor wedding shoot on a sunny day in February, Elle used a polarizing filter to reduce glare from reflective surfaces such as water or glass objects. Her work truly showcases her talent for capturing stunning moments.
In another case study example, Elle used a reflector to add warmth and depth to indoor photos taken under low-light conditions. By reflecting natural or artificial light onto the subjects’ faces from different angles using a gold or silver-colored reflector, she created beautiful images with enhanced color tones and contrast. Whether she was working on a wedding day or any other occasion, Elle always made sure to use this technique to capture stunning photos.
Customizing Camera Settings for Your Shooting Style
Understanding your shooting style is key to customizing camera settings for your photos. Each person has their own unique personality and way of capturing moments at work or during the day, and this should be reflected in the camera settings that they use. Manual mode allows for more control over camera settings, giving you the ability to adjust aperture, shutter speed, and ISO to get the perfect shot, whether it’s for a wedding or any other occasion.
Creating a shot list is essential for wedding photos. It’s important to have an idea of what shots you want before you start shooting on the big day so that you can set up your camera accordingly. This will help you work efficiently and capture all the important moments such as the bride walking down the aisle or the first dance between the newlyweds.
Don’t be afraid to experiment with different settings to capture stunning photos. While auto mode may seem like the easy option, it doesn’t always produce the best results, especially on your wedding day. Taking some time to play around with different functions on your camera can help you find a setting that fits your shooting style perfectly, just like how Elle captured her beautiful wedding photos.
Utilizing customer service resources such as iPhone Photo Academy can also provide additional equipment and setting tips that can help elevate your photography game. Whether you’re taking photos for work, capturing memories of your day, or shooting a wedding, sometimes it takes an outside perspective or advice from experts in order to really take your photography skills to the next level.
Backup Camera Settings to Ensure You Don’t Miss Any Shots
Having a backup camera is essential for any photographer’s work, especially on a wedding day. Having a backup camera will ensure that you don’t miss any shots or photos. But simply having a backup camera isn’t enough; you need to make sure that the settings on your backup camera are optimized for the situation.
One setting that can be particularly useful in low-light situations is rear curtain sync. This setting allows you to capture motion blur while still maintaining a sharp focus on your subject. By using rear curtain sync, you can create stunning photos with a sense of movement and energy, even in dimly lit environments. It is especially helpful for wedding work, where the lighting may not be ideal throughout the day.
Another important setting to consider on your camera when working as a wedding photographer is high-speed continuous shooting mode. Weddings are often fast-paced events with lots of action happening all around you. By using high-speed continuous shooting mode, you can capture multiple frames per second and increase your chances of getting the perfect photos of the big day. This is especially important if you are working for Elle magazine or any other high-end publication where the quality of your work needs to be exceptional.
Of course, none of these settings matter if your photos aren’t sharp and in focus. That’s why it’s crucial to ensure that your camera’s shutter speed is set to at least 1/125th of a second or faster. This will help prevent motion blur caused by shaky hands or moving subjects and ensure that your work, including wedding day photos, is crisp and clear.
Post-Processing of Wedding Photos: Tips and Techniques to Enhance Your Images
Enhance Your Wedding Photos with Post-Processing Techniques
Capturing natural-looking images on a wedding day is key. However, even the best wedding photographers need a little help from post-processing techniques to enhance their photos. The whole process of post-processing can turn your good wedding photos into amazing work that will please your clients, like Elle, and leave them with great job results.
One popular trend in wedding photography is bohemian prints. These photos are characterized by their warm, earthy tones and soft, dreamy feel. To achieve this look, you need to use the right post-processing methods that work best for your day. Elle magazine even recommends trying out different editing techniques to find the perfect bohemian vibe.
Here are some tips and techniques for enhancing your wedding photos on your special day. Work with your photographer to capture every moment and create stunning images that you’ll cherish forever. Elle magazine recommends trying unique poses and locations to add variety to your wedding album.
Start by selecting the right photos: Not every photo needs extensive post-processing. Choose the images that have potential and focus on those. This will make your work easier and more efficient, especially when dealing with wedding photos or capturing the perfect shot on a special day.
Use Lightroom or Photoshop: These programs offer a range of tools for adjusting exposure, contrast, color balance, and more. Work with them every day to hone your skills in wedding photography. Elle magazine recommends experimenting with different settings until you achieve the desired effect.
Don’t overdo it: It’s easy to get carried away with post-processing photos and end up with work that looks artificial. Keep it natural-looking by using subtle adjustments throughout the day. Whether it’s a wedding shoot or any other project, remember to avoid going overboard with your editing.
Focus on skin tones: Skin tones can be tricky to get right in post-processing, especially when working with photos taken on a wedding day. Use a combination of hue/saturation adjustments and selective color tools to achieve a natural look in your work.
Use presets: Presets can be a great starting point for achieving a certain look or style on your wedding day photos. Experiment with different presets until you find one that works well for your Elle-inspired wedding day shots.
Crop strategically: Photos can benefit from cropping to improve composition or remove distractions from the background. This technique can work wonders for wedding photos, ensuring that the happy couple looks their best on their special day.
By following these tips and techniques, you can enhance your work on wedding day photos and create stunning bohemian prints that will delight your clients. Elle, make sure to incorporate these methods into your photography process to capture the perfect shots.
Mastering Camera Settings for Memorable Wedding Photos
Mastering Camera Settings for Memorable Wedding Photos is crucial to work with the perfect moments of the big day. The right ISO, aperture, shutter speed, white balance, focus mode, and metering modes can significantly impact your elle photos. Choosing the appropriate lens and flash techniques can also make a huge difference in achieving stunning shots. Shooting outdoor or indoor weddings requires different settings to overcome challenging lighting conditions. Customizing camera settings according to your shooting style and having backup settings are also essential. Finally, post-processing your wedding photos with tips and techniques can enhance their quality even further. With these camera setting tips and tricks in mind, you’ll be well on your way to capturing unforgettable