Planning for your Wedding Photography on the day!
Groom’s Timeline Planning Wedding Photography: Wedding photography captures the essence of your special day, creating memories that will last a lifetime. As a groom, it’s essential to have a timeline in place to ensure your wedding photography turns out exactly how you envision it. Here’s a breakdown of the key steps and considerations to keep in mind while planning your wedding photography.
1. Envision the Atmosphere and Theme (12-9 months before)
Take time to think about the atmosphere and theme you want for your wedding. Discuss with your partner what kind of vibe you want to create, whether it’s romantic, fun, or a blend of both. This will influence the style of your wedding photography.
2. Research Photographers (9-6 months before)
Once you have a clear idea of the theme, start looking for a photographer who specialises in your desired style. Browse through their portfolios, read reviews, and see if their work aligns with your vision. Check out these examples of black and white wedding photography and the art of wedding photography for inspiration.
3. Book Your Photographer (6 months before)
When you’ve found the perfect photographer, book them as soon as possible. Wedding photographers often get booked up months in advance, so it’s essential to secure their services early on.

4. Plan the Photoshoot Locations (4 months before)
Groom’s Timeline Planning Wedding Photography: Work with your photographer to choose the perfect locations for your wedding photos. Consider the significance of each spot, the lighting, and how it complements your theme. For example, if you’re going for a romantic atmosphere, choose a location that showcases the magic of the wedding day.
5. Schedule a Pre-Wedding Photoshoot (3 months before)
A pre-wedding photoshoot is an excellent opportunity to get to know your photographer and become comfortable in front of the camera. This will make your big day go much more smoothly and help you feel more relaxed.
6. Create a Shot List (2 months before)
Discuss with your photographer the specific shots you want to be taken on your wedding day. Create a list of must-have photos, such as the wedding gown, the wedding ring, and the wedding cake. Don’t forget to include moments that showcase the fun and togetherness of your special day.
7. Assign Ushers’ Responsibilities (1 month before)
Your ushers play a crucial role in organising the wedding party and guests for group photos. Make sure they understand their responsibilities and are prepared to help on the big day.
8. Confirm the Timeline with Your Photographer (2 weeks before)
Two weeks before your wedding, confirm the timeline with your photographer. Make sure they know when and where each event will take place so they can capture every moment.
9. Have a Backup Plan (1 week before)
In case of unexpected weather or unforeseen circumstances, have a backup plan for your photography. Discuss alternative locations and indoor options with your photographer.

10. Enjoy Your Wedding Day (The Big Day)
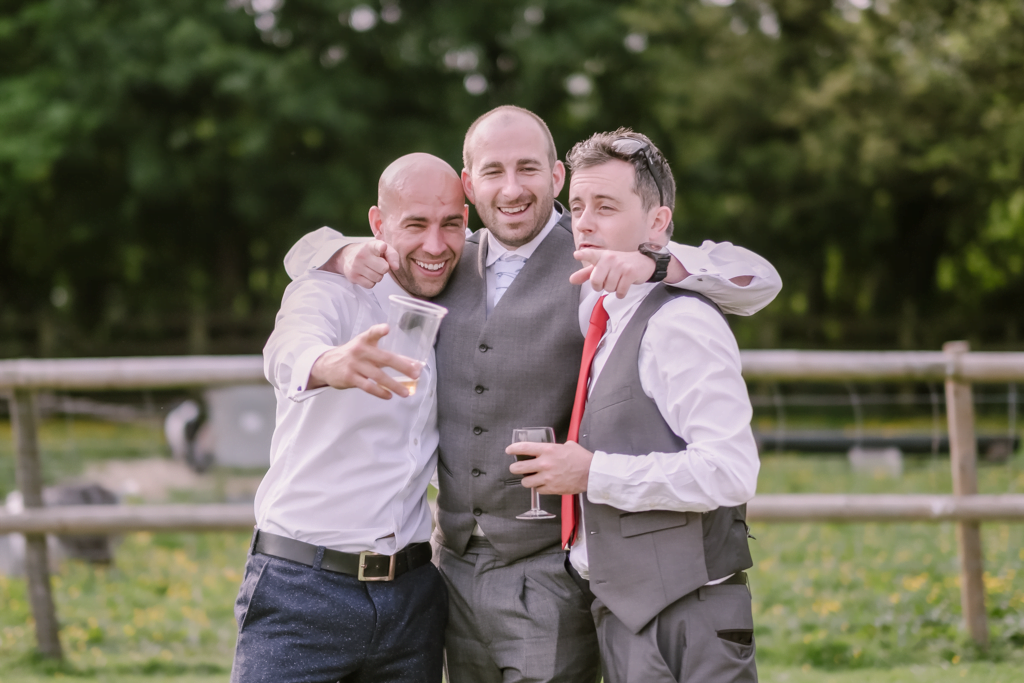
Groom’s Timeline Planning Wedding Photography: On your wedding day, **relax, laugh, and have fun** with your friends and family. Trust your photographer to capture the magic of the day, and be present in each moment. Remember that the best photos come from genuine emotions and interactions.
11. Review Your Photos (2-4 weeks after)
Your photographer will likely provide a sneak peek of the photos within a week or two after the wedding. Take the time to review them and relive the memories of your special day. If you have any feedback or requests, communicate them to the photographer.
12. Select Your Favorite Photos (4-6 weeks after)
Once you receive the full set of photos, spend some time with your partner selecting your favourites. These will be the images you’ll likely display in your home, include in your wedding album, or share with friends and family.
13. Order Your Wedding Album (6-8 weeks after)
When you have chosen your favourite photos, work with your photographer to design and order your wedding album. This keepsake will preserve the memories of your special day for generations to come.
14. Share Your Photos (2-3 months after)
Share your favourite photos with friends and family, either through social media or by sending physical copies. They will appreciate the opportunity to relive your special day and celebrate your love story.
15. Preserve Your Memories (3-4 months after)
Lastly, consider how you want to preserve your memories. Whether it’s framing your favourite photos, creating a wedding photography time capsule, or incorporating them into your home decor, find a way to keep your wedding day alive.
By following this timeline, you’ll ensure that your wedding photography captures the essence of your special day. From the early stages of planning the theme to the final steps of preserving your memories, each phase contributes to creating lasting, beautiful images of your love story. So, embrace the journey, and enjoy the process of planning the perfect wedding photography experience.

